Preparing the Cake for Slicing
Chilling the cake for about an hour ensures a firmer texture and cleaner cuts. Mark slices lightly with a knife to maintain even portions. Avoid freezing for the best slicing results.
1.1 Chilling the Cake
Chilling the cake for about an hour ensures a firmer texture, making it easier to slice cleanly. Place the cake in the refrigerator to firm up, but avoid freezing, as it becomes too hard. A chilled cake holds its shape better and prevents crumbling. For larger cakes, extend the chilling time slightly. This step is especially crucial for layered or tiered cakes, as it stabilizes the structure for precise cutting.
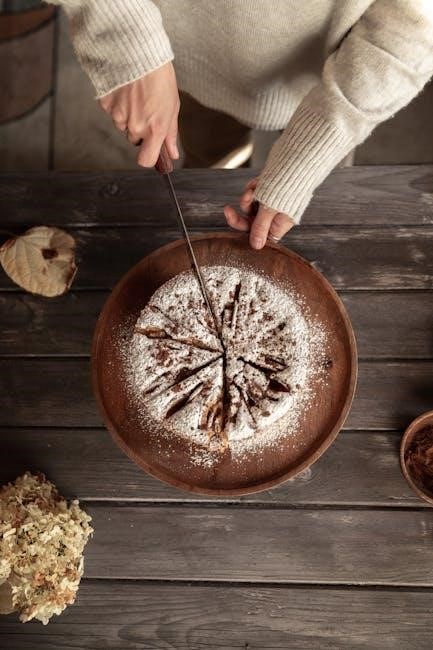
1.2 Using a Knife or Tool to Mark Slices
Lightly press a knife or tool to outline desired slice marks on the cake. This ensures even portioning and visually appealing results. Gently score the surface without cutting too deeply. For tiered cakes, mark slices on each tier separately. This step helps maintain consistency and prevents uneven cuts. Use a serrated knife for clean marks, especially on frosted cakes, to guide precise slicing later.
Tools and Equipment for Cake Slicing
Essential tools include a serrated knife, cake turntable, and spatula. These ensure clean cuts, even slicing, and easy serving, enhancing both precision and presentation.
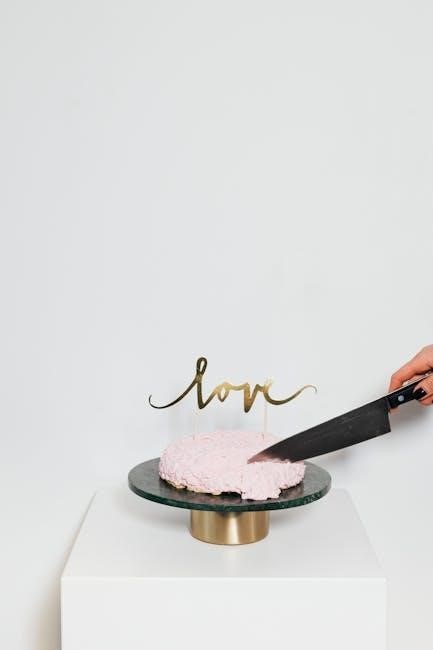
2.1 Serrated Knife for Clean Cuts
A serrated knife is ideal for cake slicing due to its toothed edge, which ensures clean, even cuts. Choose a long, sharp knife to slice through multiple layers smoothly.
Wipe the knife with a damp cloth between cuts to prevent crumbs from spreading. A sharp serrated knife minimizes tearing, maintaining the cake’s appearance and texture for perfect servings.
2;2 Cake Turntable for Easy Access
A cake turntable enhances accessibility, allowing you to rotate the cake effortlessly for uniform slicing. This tool is especially useful for tiered or large cakes, making it easier to reach all sides without moving the knife excessively. Rotating the cake ensures consistent cuts and reduces strain, making the slicing process more efficient and precise.
2.3 Cake Spatula for Serving
A cake spatula is essential for serving, allowing you to lift and transfer slices without breaking the cake. Its wide, flat surface ensures even support, especially for fragile or layered cakes. Using a spatula prevents crumbs from falling and keeps slices intact, making the serving process neat and professional. It’s a must-have tool for maintaining presentation and hygiene while serving your perfectly sliced cake.

Slicing Techniques for Different Cake Types
Different cakes require unique slicing techniques. Tiered cakes need careful deconstruction, while standard cakes can be cut into generous or event-style portions for any occasion.
3.1 Tiered Cake Deconstruction
For tiered cakes, start by sliding a knife or spatula under the top tier to lift it off. Repeat for each tier, ensuring even slices. This method maintains cake structure and presentation, making it ideal for events. Proper deconstruction allows each tier to be sliced individually, promoting clean cuts and visually appealing results for every guest.
3.2 Cutting Standard or Generous Servings
For standard servings, slice the cake into 1-inch wide pieces for a 2-layer cake. For generous portions, increase the width to 1.5 inches. Use a serrated knife and a guide for even cuts. Wipe the knife between slices to ensure clean cuts. This method works well for events, providing consistent, visually appealing slices while accommodating larger serving needs without compromising presentation or flavor distribution.
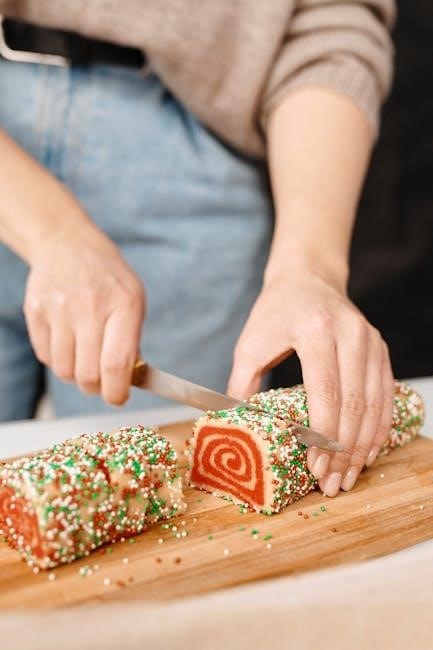
3.3 Slicing Event-Style Portions
For event-style portions, focus on smaller, uniform slices to maximize the number of servings. Start by cutting the cake in half, then continue slicing each half into 2.5cm thick pieces. Use a printable guide to ensure consistency. This method is ideal for large gatherings, allowing you to serve more guests without compromising on presentation or taste. Ensure the knife is sharp and clean between cuts for precise results.
Using a Cake Cutting Guide
A cake cutting guide helps achieve even, uniform slices. Use printable guides for precise measurements or adjustable guides for varying cake sizes, ensuring perfect portions for events or weddings.
4.1 Printable Cake Cutting Guides
Printable cake cutting guides provide precise templates for uniform slices. They are ideal for events, weddings, or gatherings, ensuring equal portions. Simply download, print, and place over the cake to mark even cuts. These guides are customizable to fit various cake sizes and shapes, making them versatile for both round and tiered cakes. They also help in achieving professional-looking results for any celebration or occasion.
4.2 Adjustable Cutting Guides for Even Slices
Adjustable cutting guides offer flexibility, allowing you to customize slice sizes based on the cake’s diameter. They are ideal for both round and tiered cakes, ensuring uniform portions. Simply adjust the guide to fit the cake’s dimensions and slice along the markers for consistent results. This tool is especially useful for large events or when precise portion control is needed, making it a versatile addition to your cake preparation arsenal.
Presentation Tips for Sliced Cake
Maintaining the cake’s shape during slicing ensures visually appealing results. Use a sharp knife and steady hand to create clean cuts, enhancing the presentation for any occasion. This attention to detail elevates the cake’s aesthetic appeal, making it more inviting for guests. Additionally, neatly arranging slices on a serving plate or cake stand can further enhance the overall presentation, ensuring a professional and attractive display. The key is to preserve the cake’s structure while slicing, which contributes to a polished and appetizing appearance. By focusing on precise cuts and careful arrangement, you can achieve a beautifully presented dessert that impresses both visually and in taste.
5.1 Maintaining Cake Shape During Slicing
Chilling the cake firms its texture, preventing it from crumbling or deforming during slicing. Use a sharp serrated knife to make clean, even cuts, and avoid applying too much pressure, which can misshape the cake. Gently guide the knife through the cake in one smooth motion. If the cake starts to shift, pause and stabilize it with a spatula or cake turntable to maintain its structure and ensure precise cuts.
5.2 Ensuring Neat and Visually Appealing Slices
To achieve neat and visually appealing slices, use a sharp serrated knife to make clean cuts; Wipe the knife between slices to prevent frosting or crumbs from smudging. Place slices on a clean, flat surface or platter, arranging them evenly. For tiered cakes, remove each tier before slicing to maintain presentation. Ensure even lighting to highlight the cake’s texture and design, making it visually irresistible for guests or photography.
Special Considerations for Odd-Shaped Cakes
For oval cakes, cut across the center, then slice 2.5cm pieces. For square cakes, cut into equal sections vertically or horizontally for even servings.
6.1 Slicing Oval Cakes
For oval cakes, start by cutting across the center to create uniform slices. Measure 2.5cm from the edge and slice across the width. Repeat this process, moving around the cake to ensure even portions. This method helps maintain the cake’s visual appeal while achieving consistent slice sizes for various serving needs.
6.2 Cutting Square or Rectangular Cakes
For square or rectangular cakes, start by cutting the cake into equal-sized rows and columns. Use a serrated knife to make precise, straight cuts. Begin at one corner and work your way across, ensuring each slice is uniform in size. This method ensures neat, visually appealing portions while maximizing the number of servings. It also makes serving easier and more efficient for any event or gathering.
Determining the Number of Slices
Use a cake cutting guide or tool for precise portioning. Calculate servings based on cake size and event type, adjusting slice size for optimal distribution.
7.1 Calculating Servings Based on Cake Size
A standard cake serving is typically 1 inch wide for a 2-layer cake. Use a cake cutting guide or tool to determine the number of slices. For round cakes, calculate based on diameter and desired portion size. Adjust the number of slices according to event type, such as weddings or parties, ensuring even distribution. This method ensures everyone gets a piece while maintaining presentation. Using guides helps achieve consistent results.
7.2 Adjusting Slice Size for Different Events
For intimate gatherings, opt for larger slices, around 1.5 inches wide. Smaller events may require standard 1-inch slices. Weddings or large parties often use event-style portions, with 1-inch slices for efficiency. Adjusting slice size ensures the right balance between portion control and guest satisfaction. Using a printable guide can help achieve uniform cuts, making it easier to serve the perfect size for any occasion. This flexibility ensures every event meets its serving needs effectively.
Handling Tall or Layered Cakes
Stabilize tall cakes before slicing to prevent movement. Use a long serrated knife to cut through layers evenly, ensuring clean cuts from top to bottom.
8.1 Stabilizing the Cake Before Slicing
Stabilizing tall or layered cakes is crucial for even slicing. Place the cake on a sturdy turntable or cake stand to prevent wobbling. Ensure the cake is securely positioned, especially for tiered designs. If necessary, use cake dowels or skewers between layers to add support. A stable base ensures precise cuts and prevents the cake from shifting during slicing, leading to cleaner, more uniform portions. This step is essential for maintaining the cake’s structural integrity and making the slicing process safer and more efficient. By securing the cake properly, you avoid mishaps and achieve professional-looking results every time.
8.2 Cutting Through Multiple Layers Safely
When slicing tall or layered cakes, use a long, sharp serrated knife to cut through all layers in one smooth motion. Start at the top and apply gentle, consistent pressure. Ensure the knife reaches the bottom layer to maintain evenness. Use a cake server or offset spatula to carefully remove each slice, preventing the cake from breaking apart. This method ensures clean cuts and avoids damaging the layers, making the process safer and more efficient. Always maintain control and patience to achieve perfect, intact slices every time.
Serving the Sliced Cake
Use a cake server or offset spatula to lift and place slices neatly on plates. Allow the cake to reach room temperature for optimal flavor and texture.
9.1 Using a Cake Server or Offset Spatula
For serving, slide a cake server or offset spatula under the sliced portion. Gently lift and transfer the slice to a plate. This ensures clean, even portions and prevents breaking. For tall or layered cakes, press the knife through the bottom layer first, then use the spatula to portion out the slice. Always wipe the knife between cuts to maintain hygiene and presentation quality.
9.2 Allowing the Cake to Reach Room Temperature
Allowing the cake to reach room temperature is essential for optimal flavor and texture. While chilling makes slicing easier, serving a cold cake can result in a harder, less flavorful experience. Let the cake sit at room temperature for 15-30 minutes to soften and develop its aroma. This enhances the taste and ensures a moist, satisfying texture for your guests to enjoy.

Cleaning and Maintaining Tools
Regularly wipe the knife with a damp cloth between cuts to prevent crumbs from building up. Sanitize all tools, including spatulas and turntables, after each use.
10.1 Wiping the Knife Between Cuts
Wipe the knife with a damp cloth between cuts to remove crumbs and frosting. This prevents residue from transferring to other slices, ensuring clean, even cuts. Regular wiping maintains consistency in slice appearance and avoids messy edges. For layered cakes, this step is crucial to keep layers intact and prevent tearing. A clean knife also reduces the risk of cross-contamination and ensures precise slicing every time.
10.2 Sanitizing Equipment After Use
Sanitize all tools with warm water and mild detergent to remove residual frosting and crumbs. Rinse thoroughly and dry to prevent water spots. Regular sanitization prevents contamination and maintains hygiene. This step is crucial for preventing bacterial growth, especially when serving large groups. Clean equipment ensures a professional presentation and safety for all guests. Proper sanitization also extends the life of your tools, keeping them in excellent condition for future use.